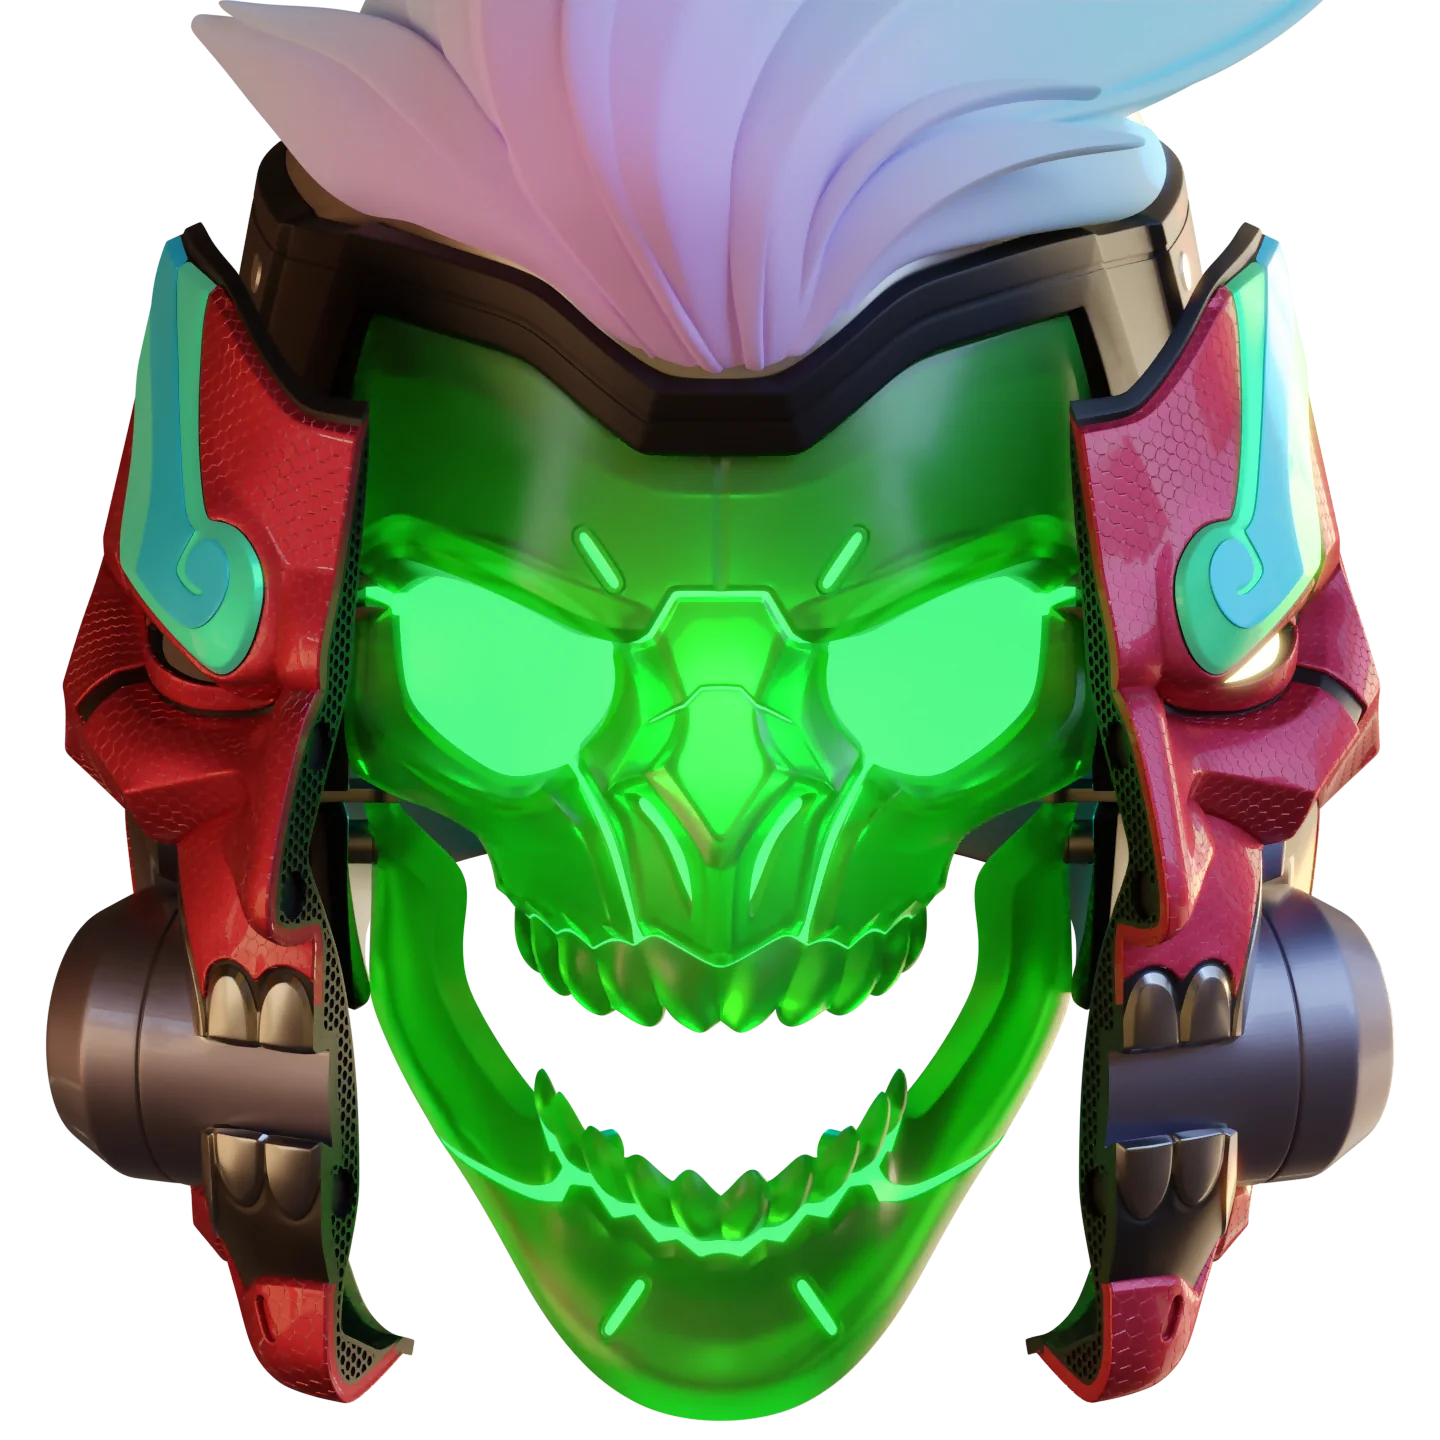
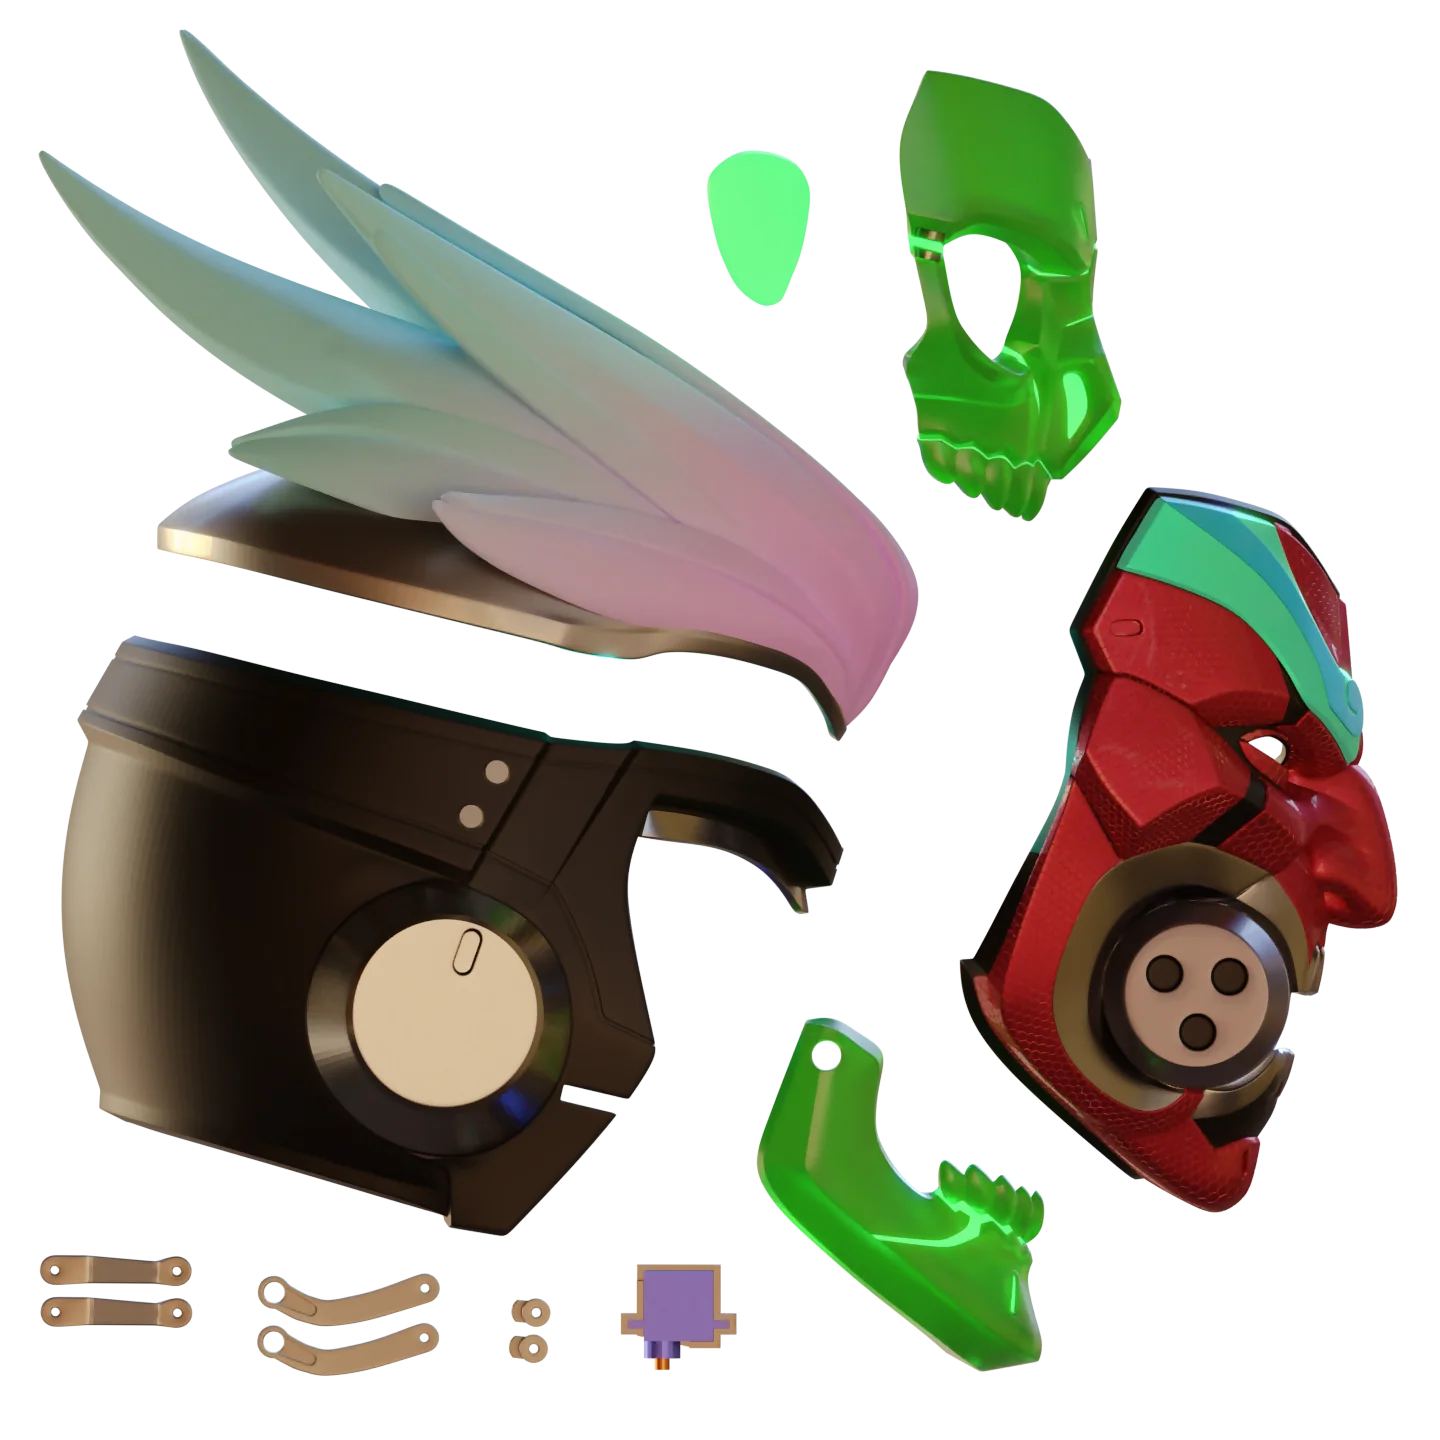
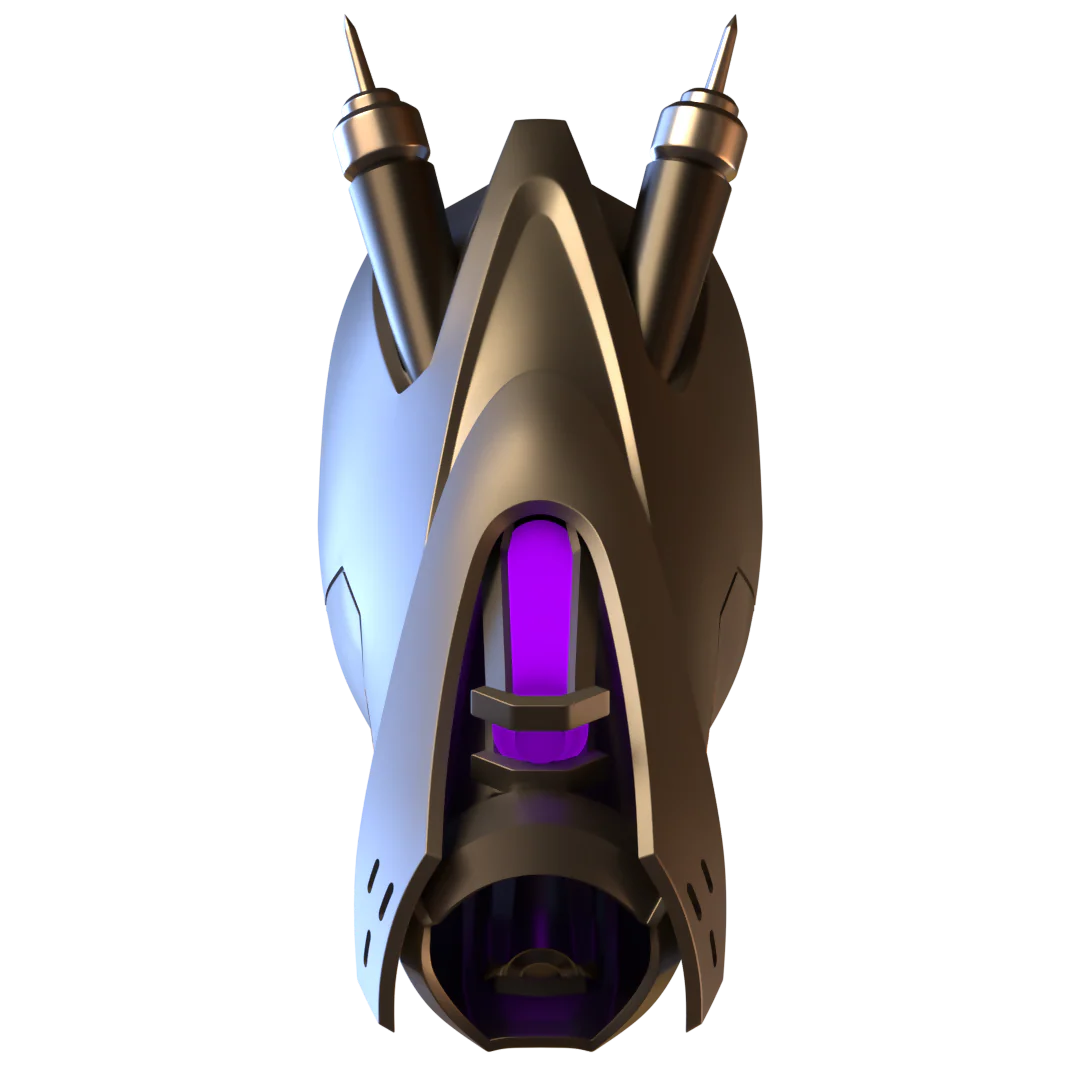
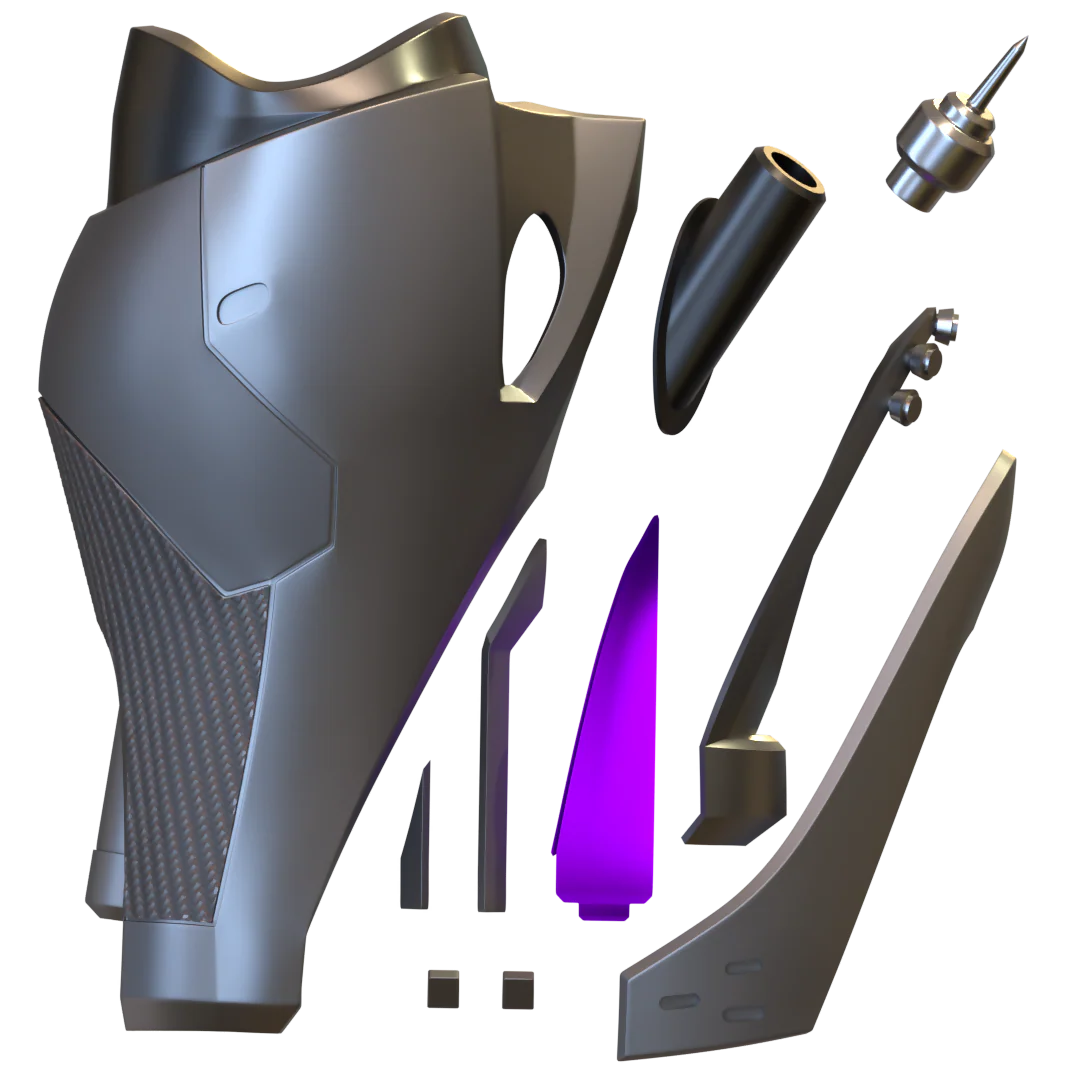
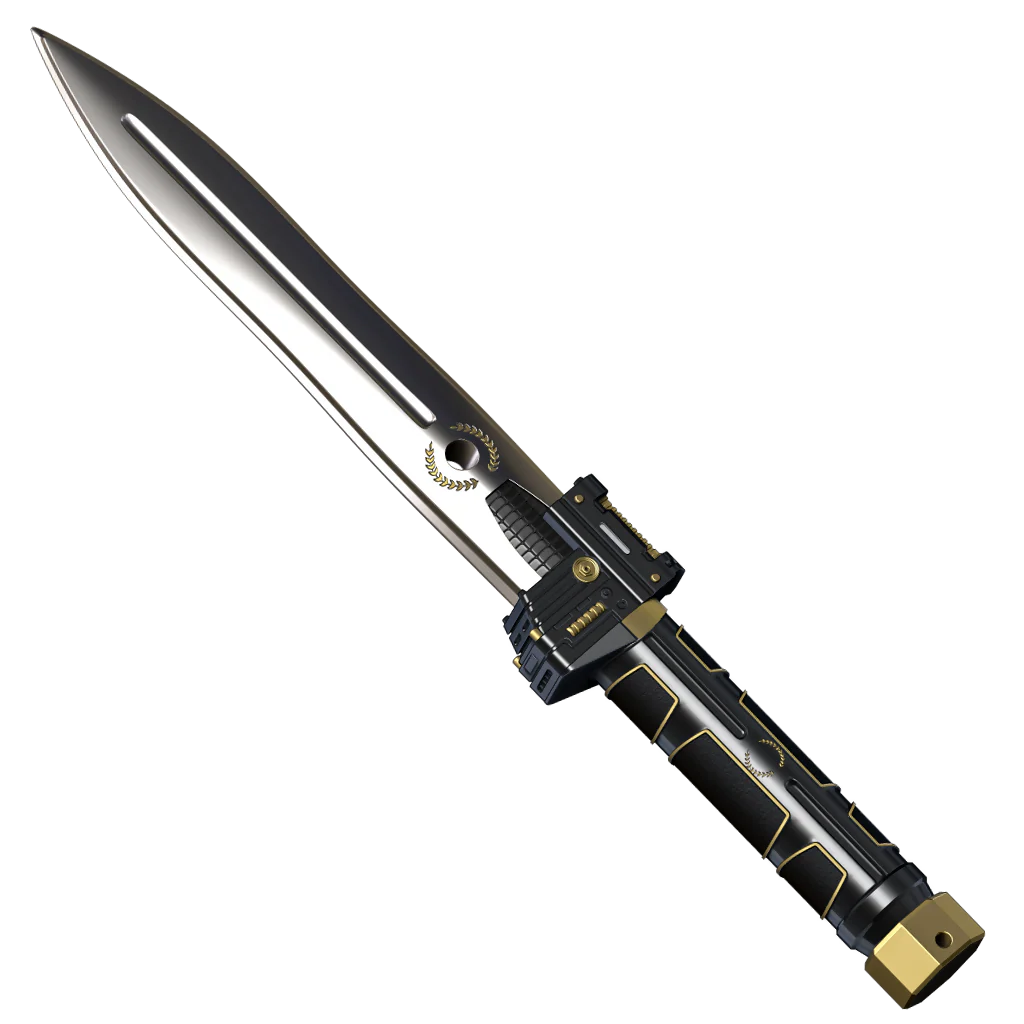
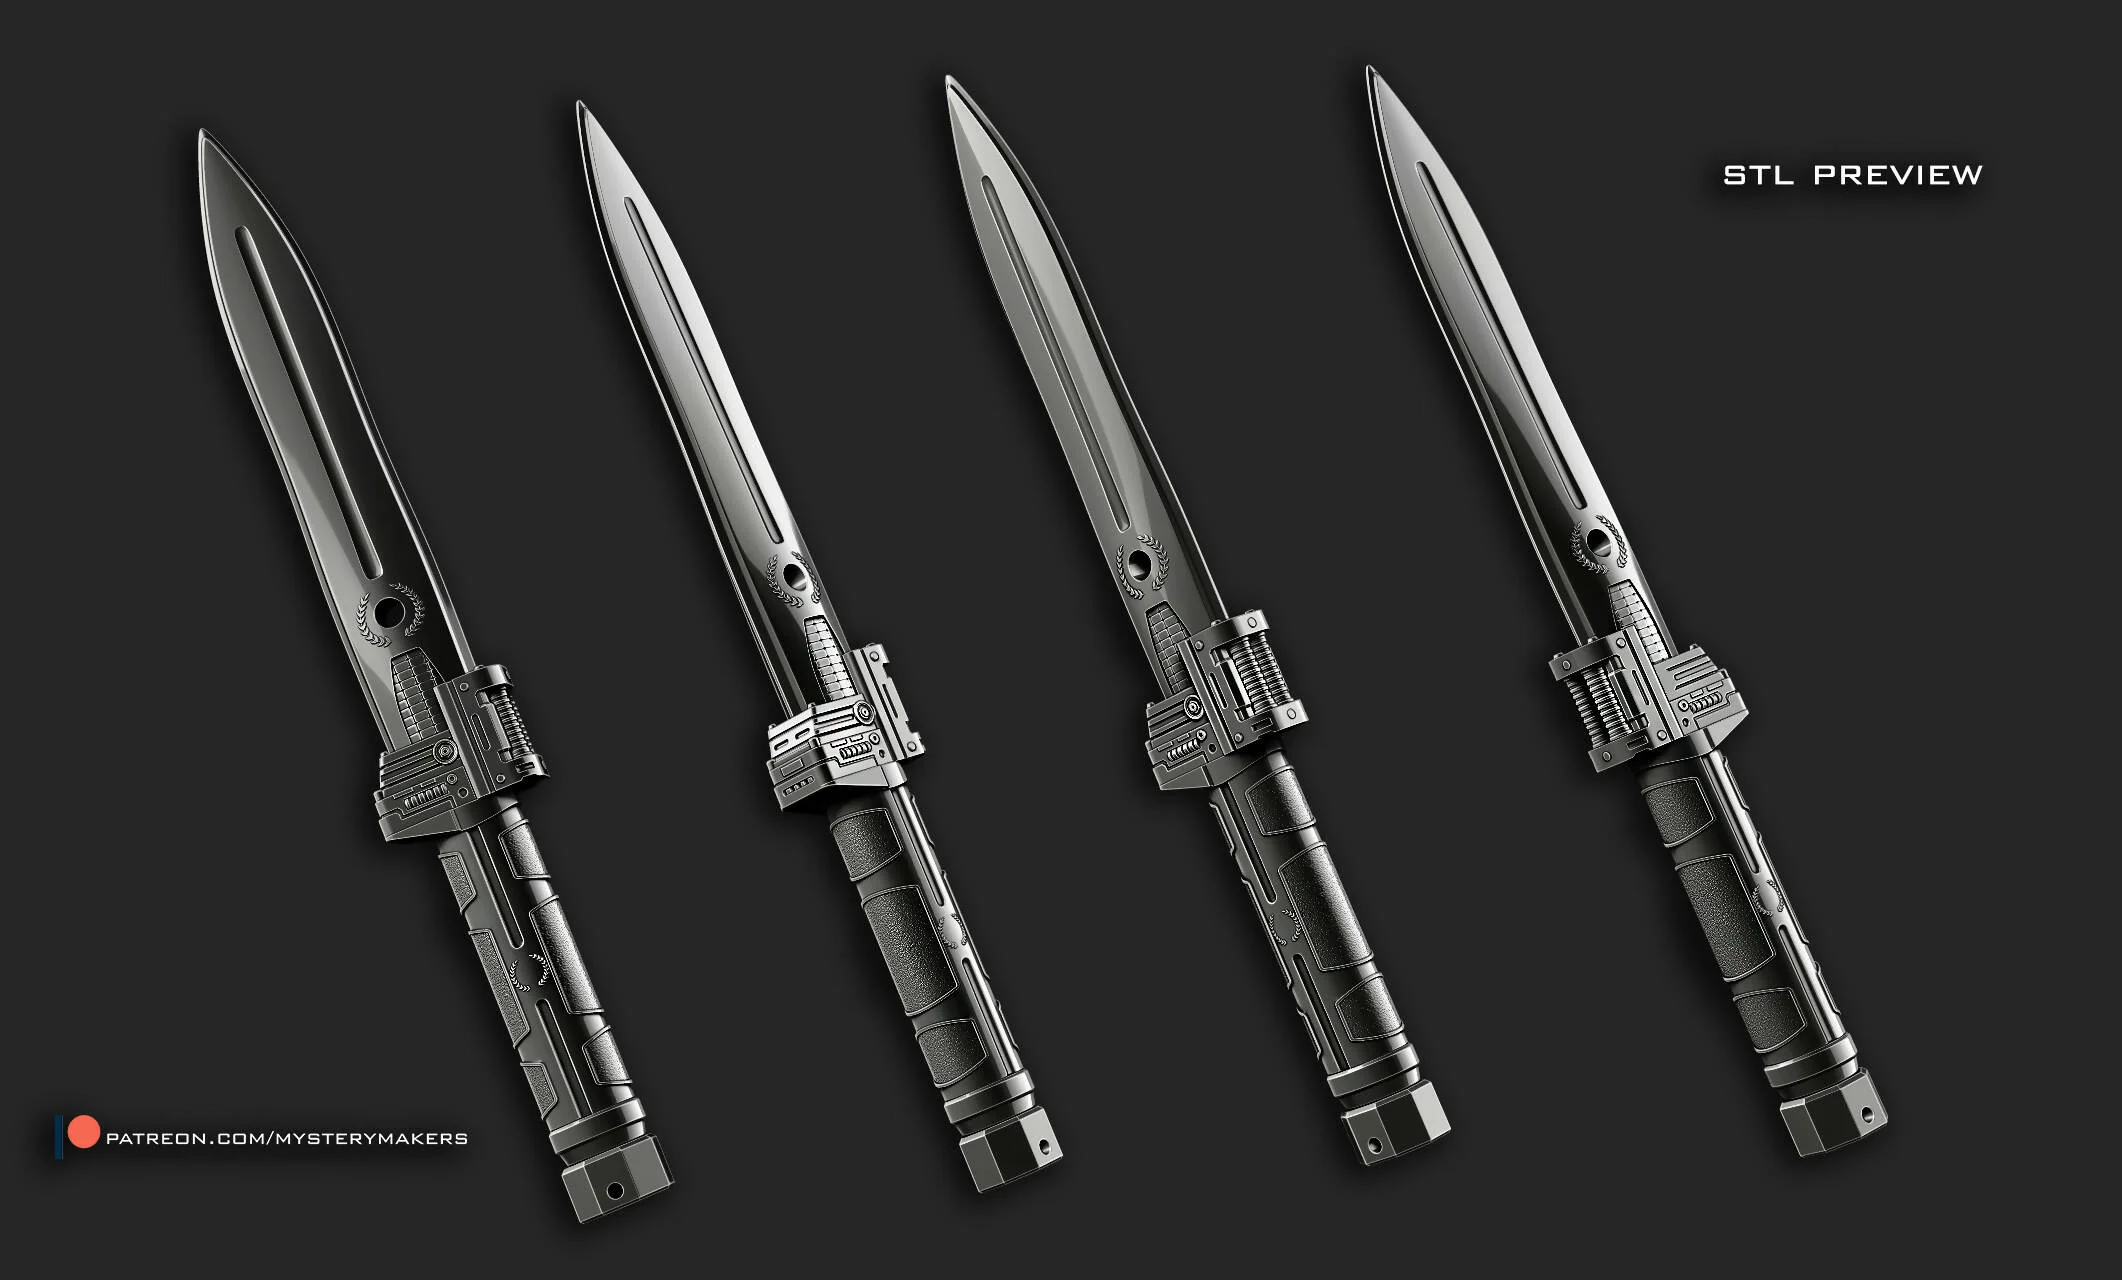
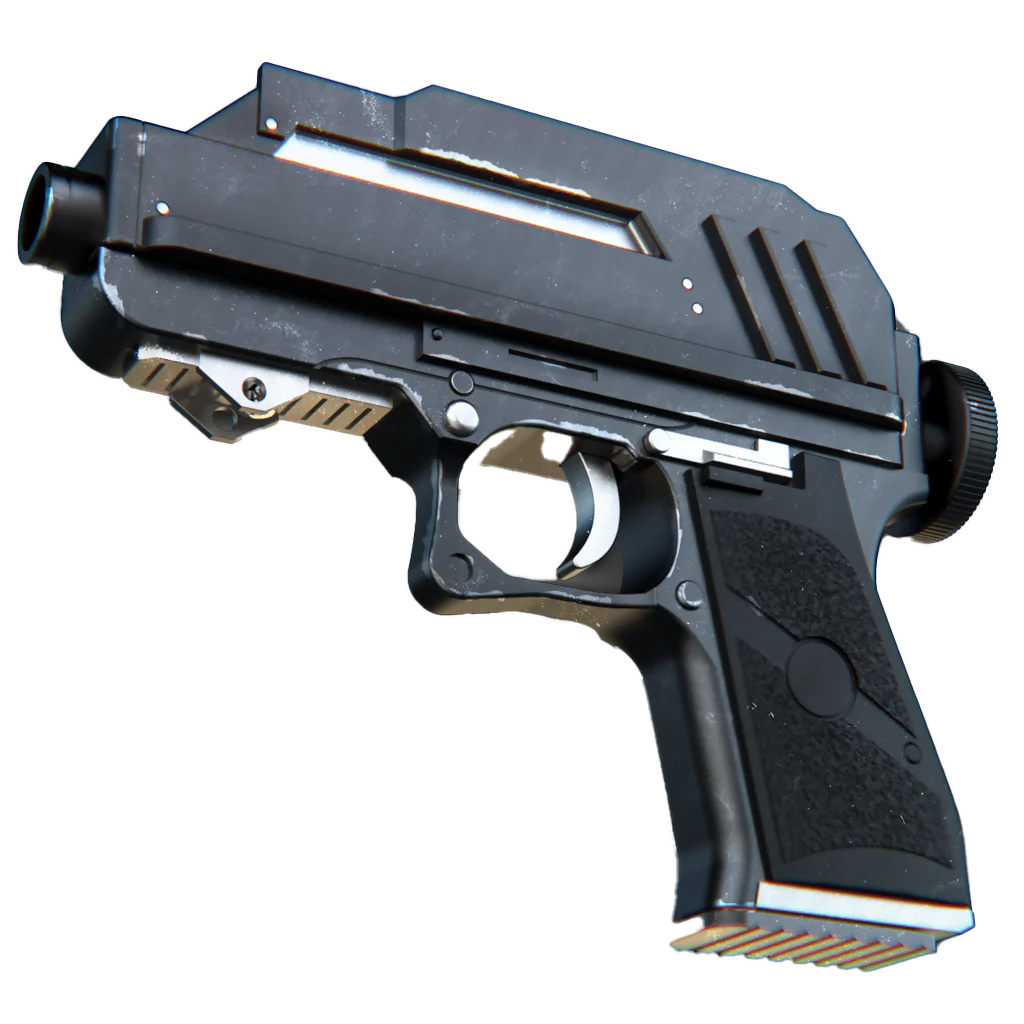
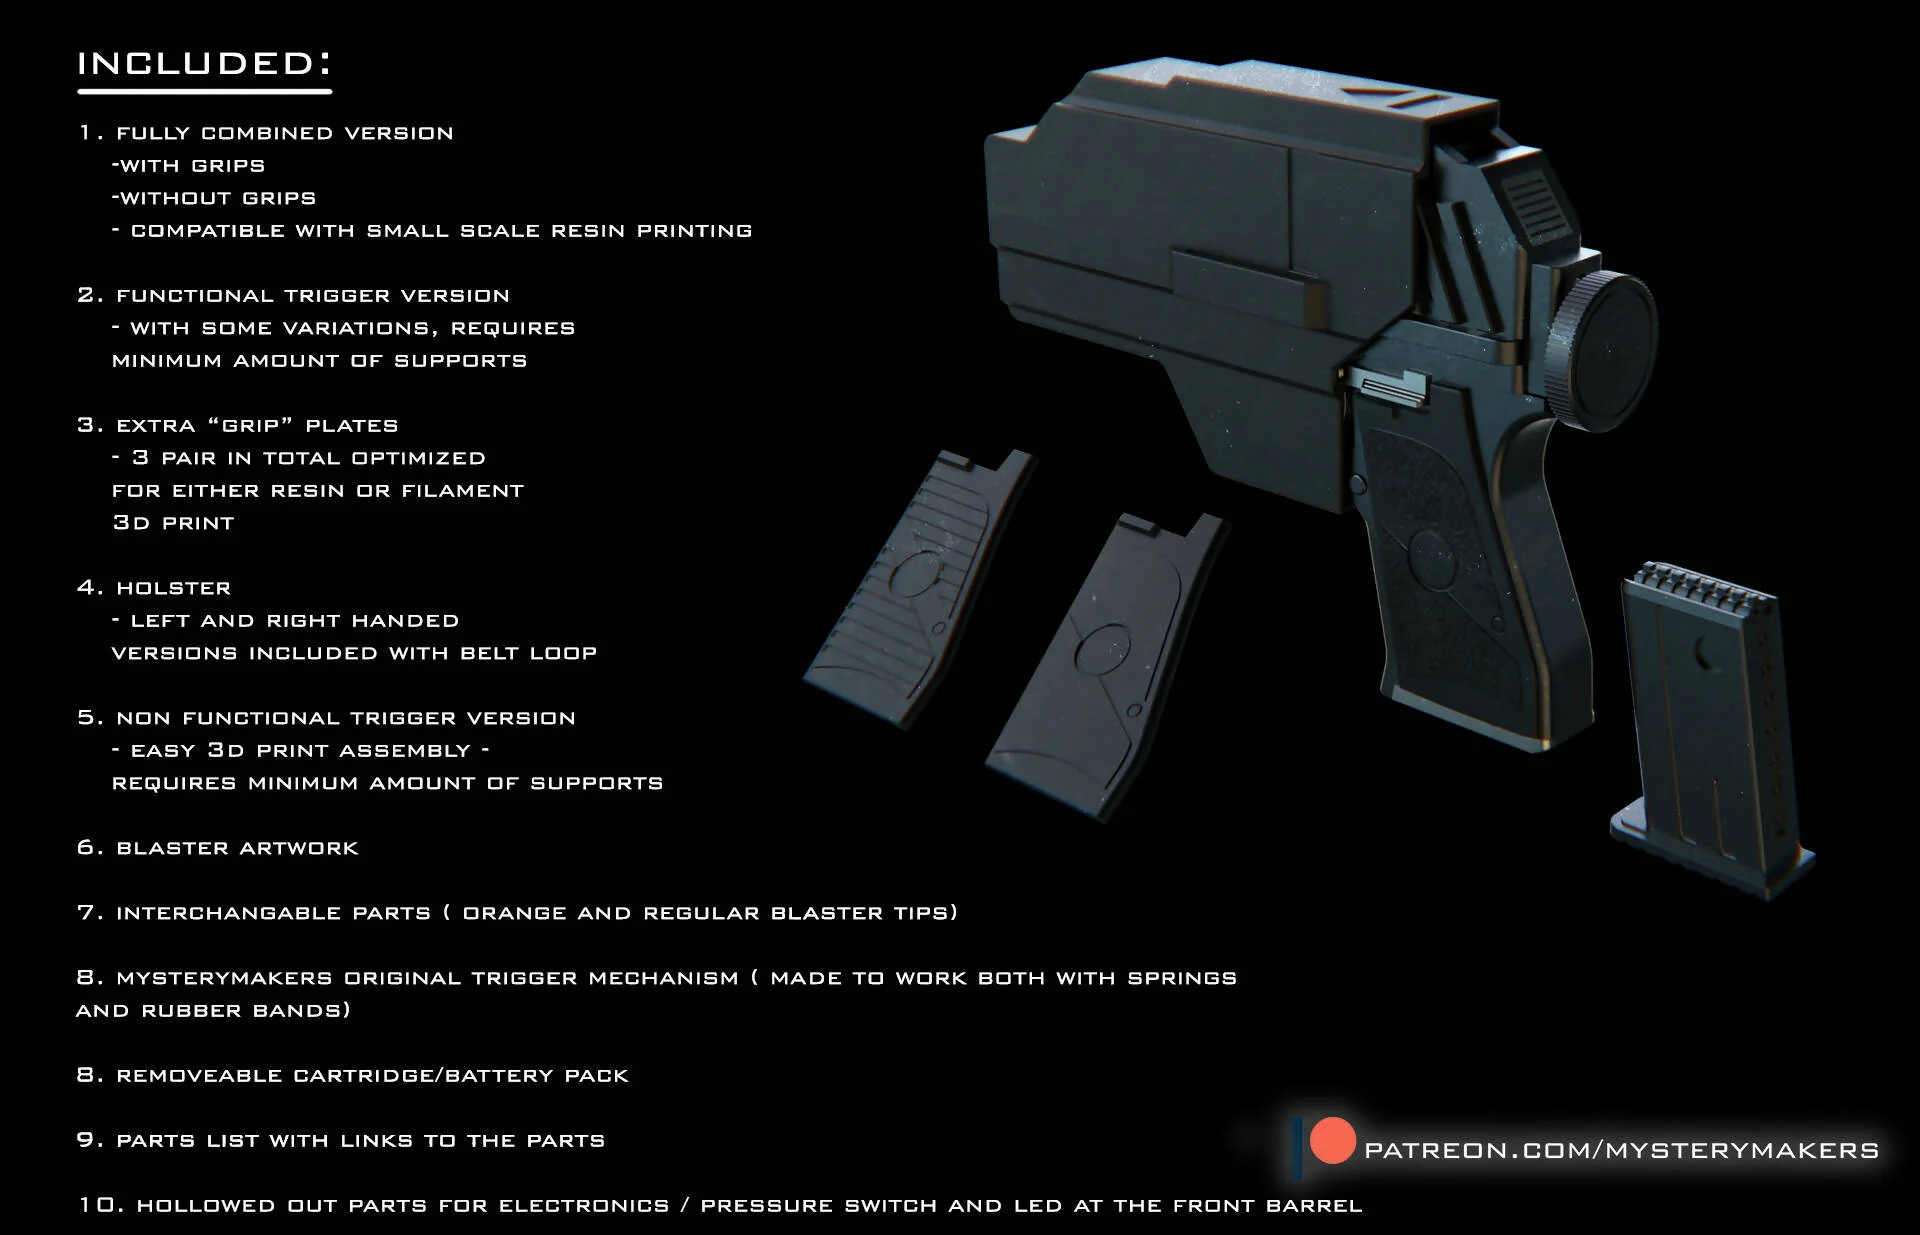
Ronin light sword hilt
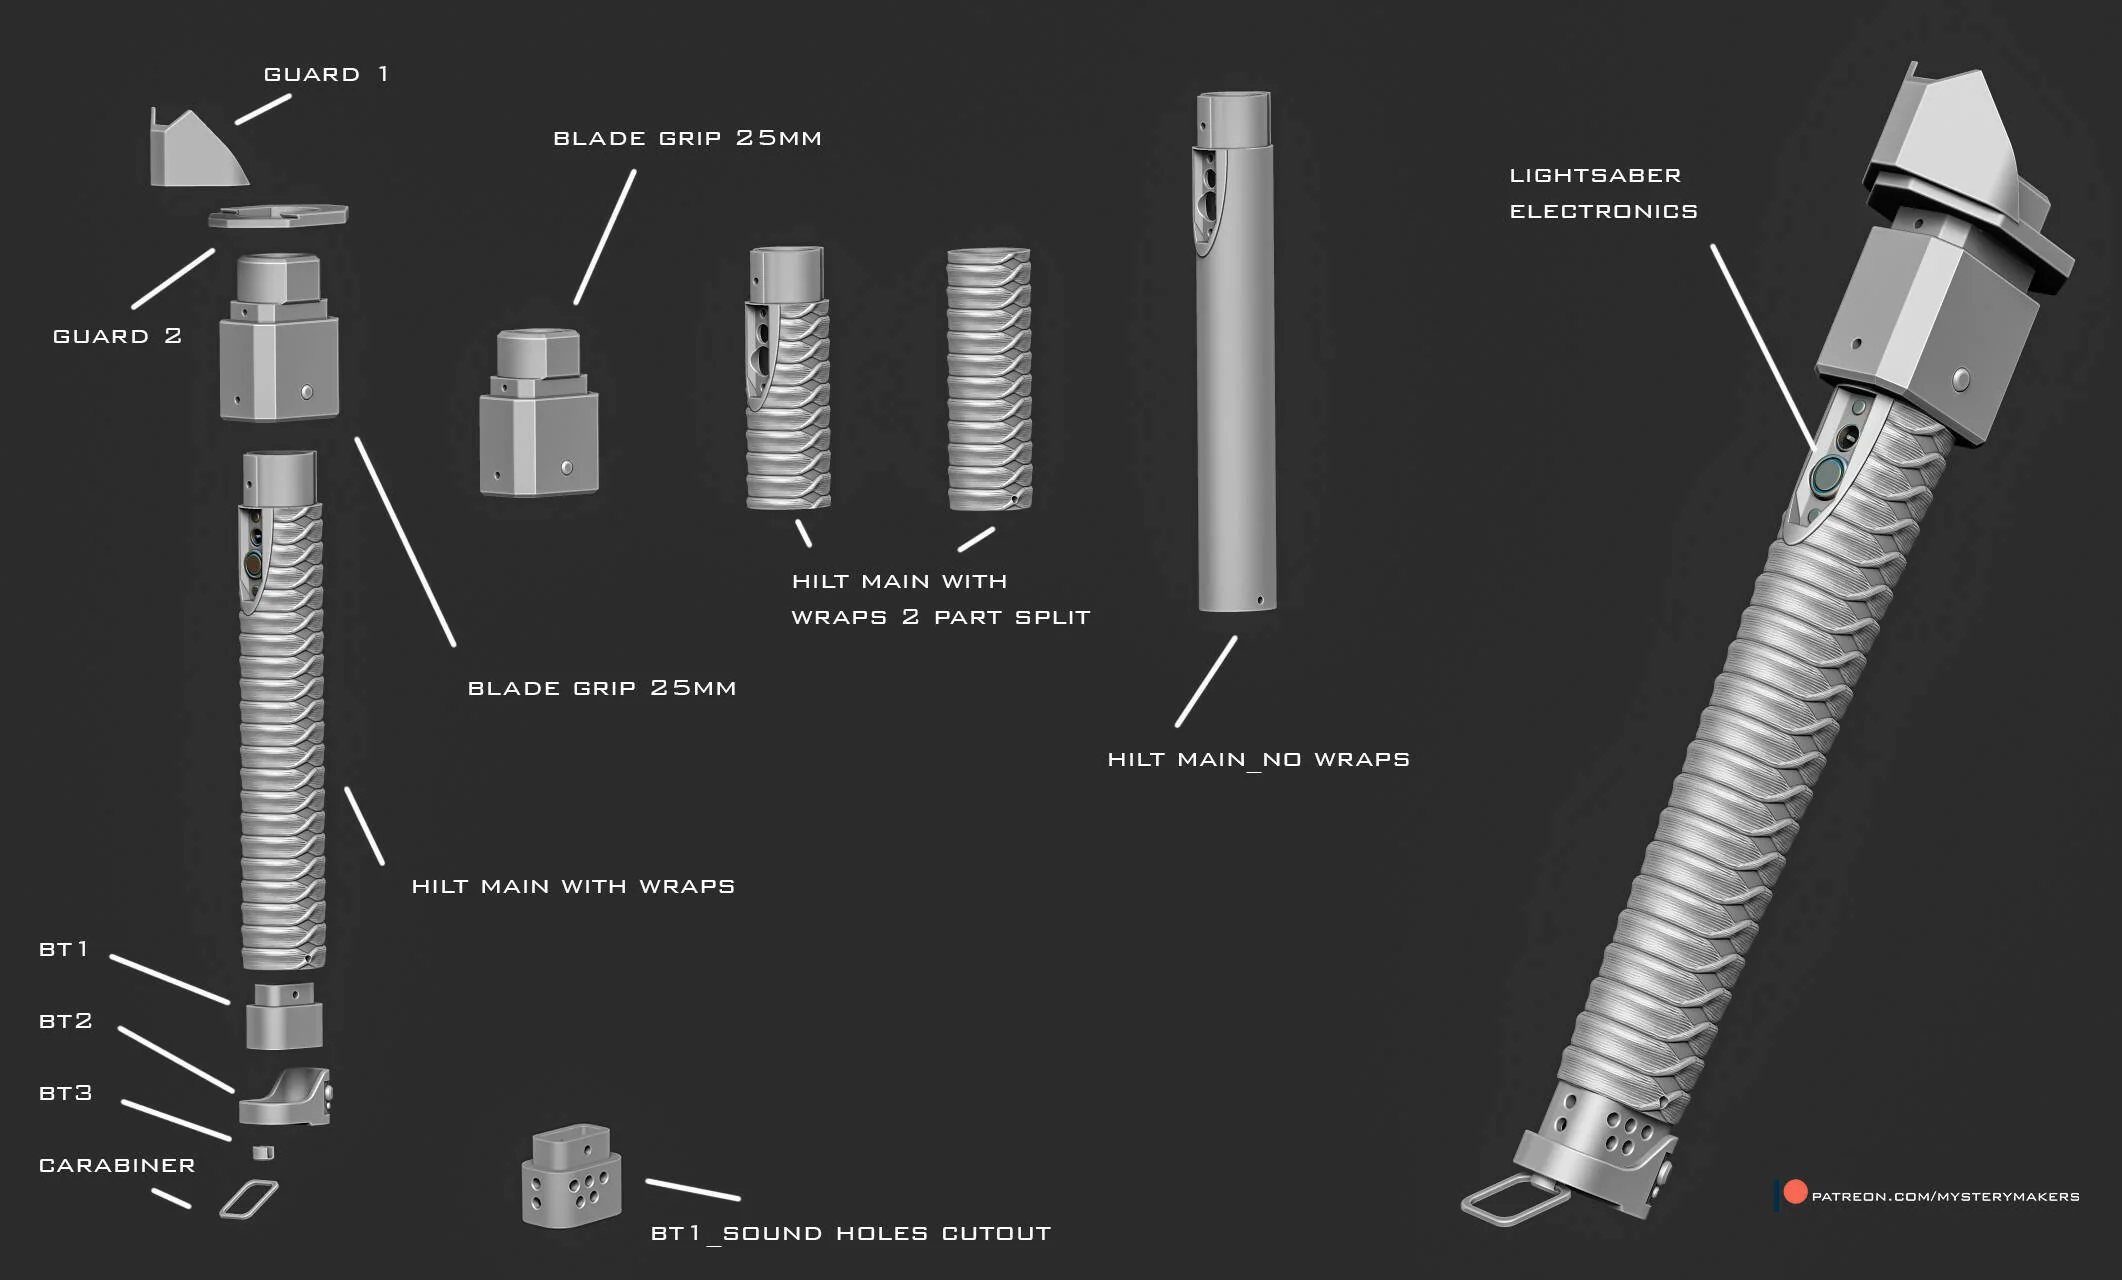
It is made to be 3d printed both in resin and FDM (filament)
- you will also need a "real" electronics and "blade" to make it functional
WHATS INCLUDED:
- V1 and V2 stl files - so 2 ronin versions
- textured hilt
- clean hilt
- textured hilt for physical wrapping
- 23 mm , 26 mm and 25 mm adapters to fit blade
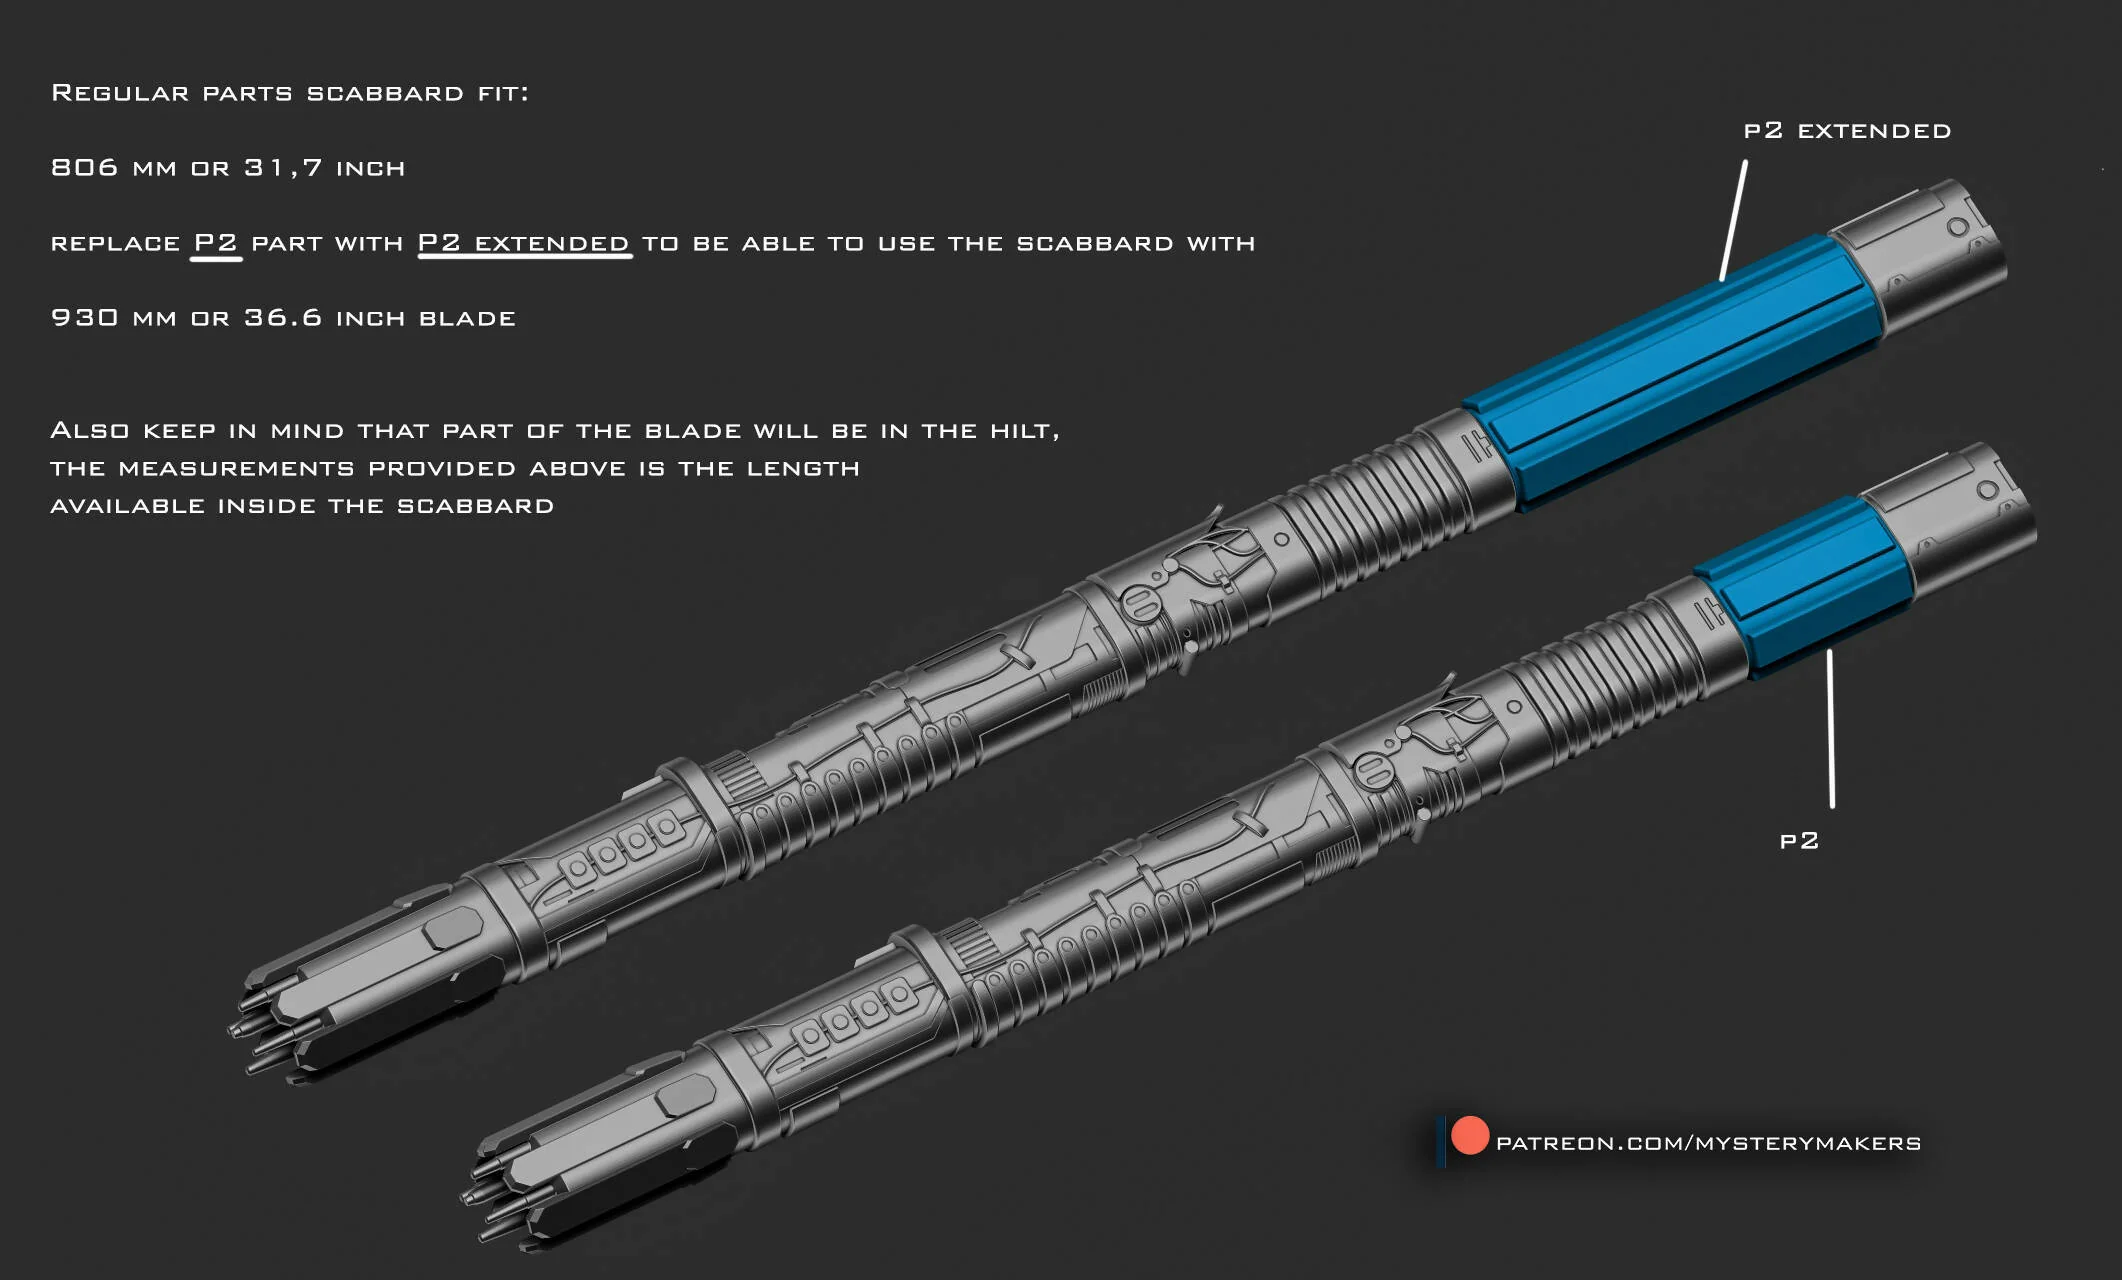
- scabbard made both for V1 and V2 blade
- info where to purchase electronics
- both functional and non functional versions (3d printable)
At the bottom of the saber I added cutouts/holes for sound to travel, and i also added a 25 mm and 23 mm versions to use depending on what saber you have.
The carabiner is freely moveable so you can use a 3d printed one or your own.
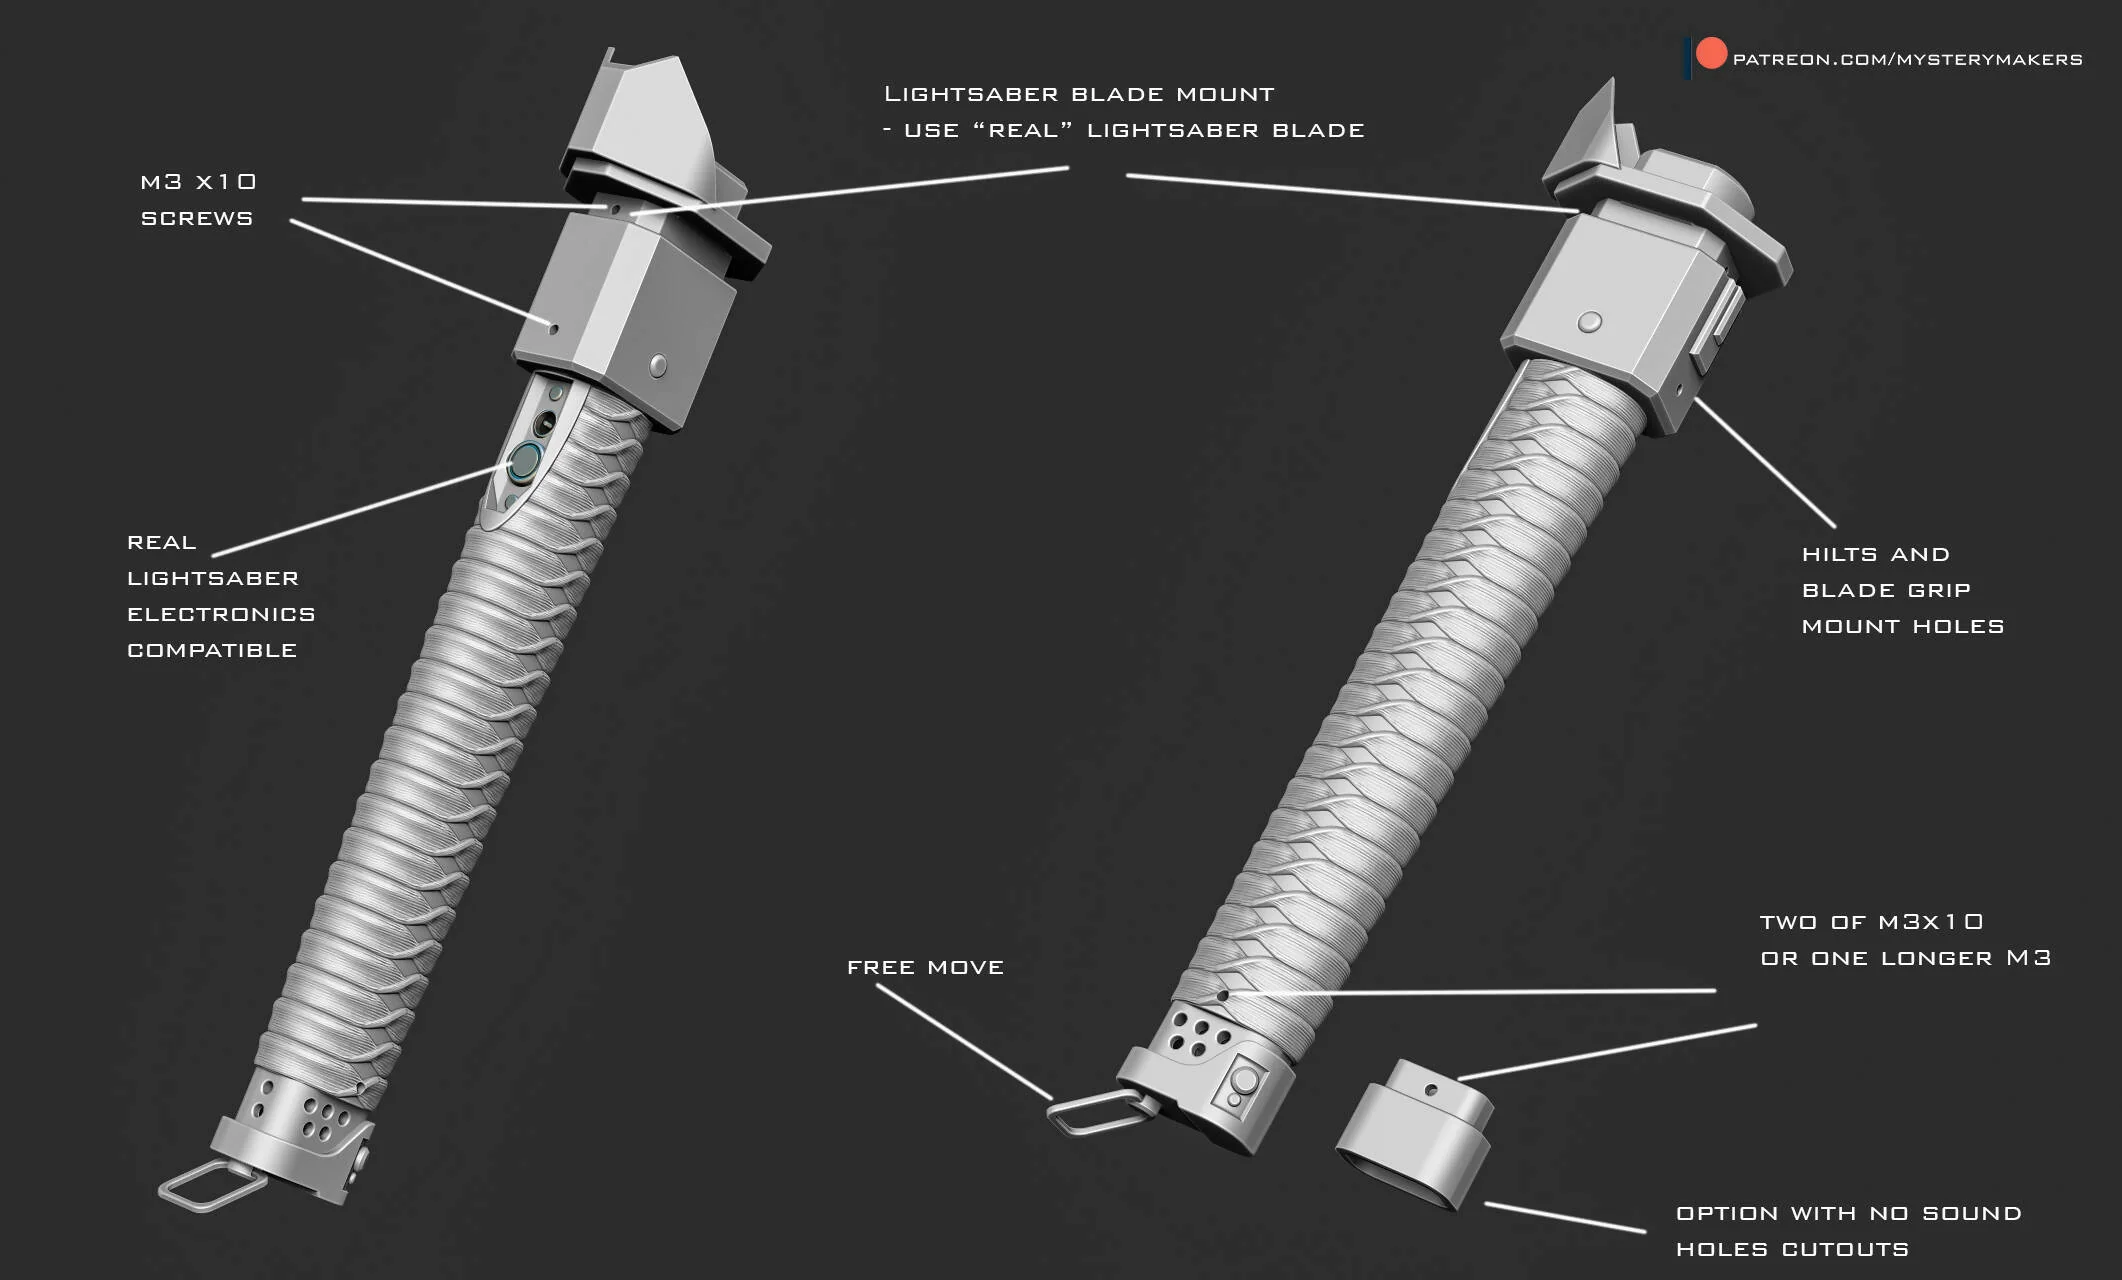
Screws used are m3 x10 mm. only at the bottom you can use just one m3 but longer that goes all the way thru.
Lower 2 screws on the sides on the "blade grip" part are to combined the hilt with blade, and upper 2 screw holes are to mount the blade.
In there you will also find slots for two M3 nuts that can be used to tighten/release the blade.
I also added a hilt without the katana wraps in case you wanna add your own/real ones.
The entire hilt is oval shaped, inspired by real katana hilts, ofc as much as it was allowed due to structural integrity/electronics combo, and it felt like a big shame to put the button at the sides where the knots are, so i used their design detail on the saber to actually turn it into a place where the button/switch is/are.
PROJECT UPDATES
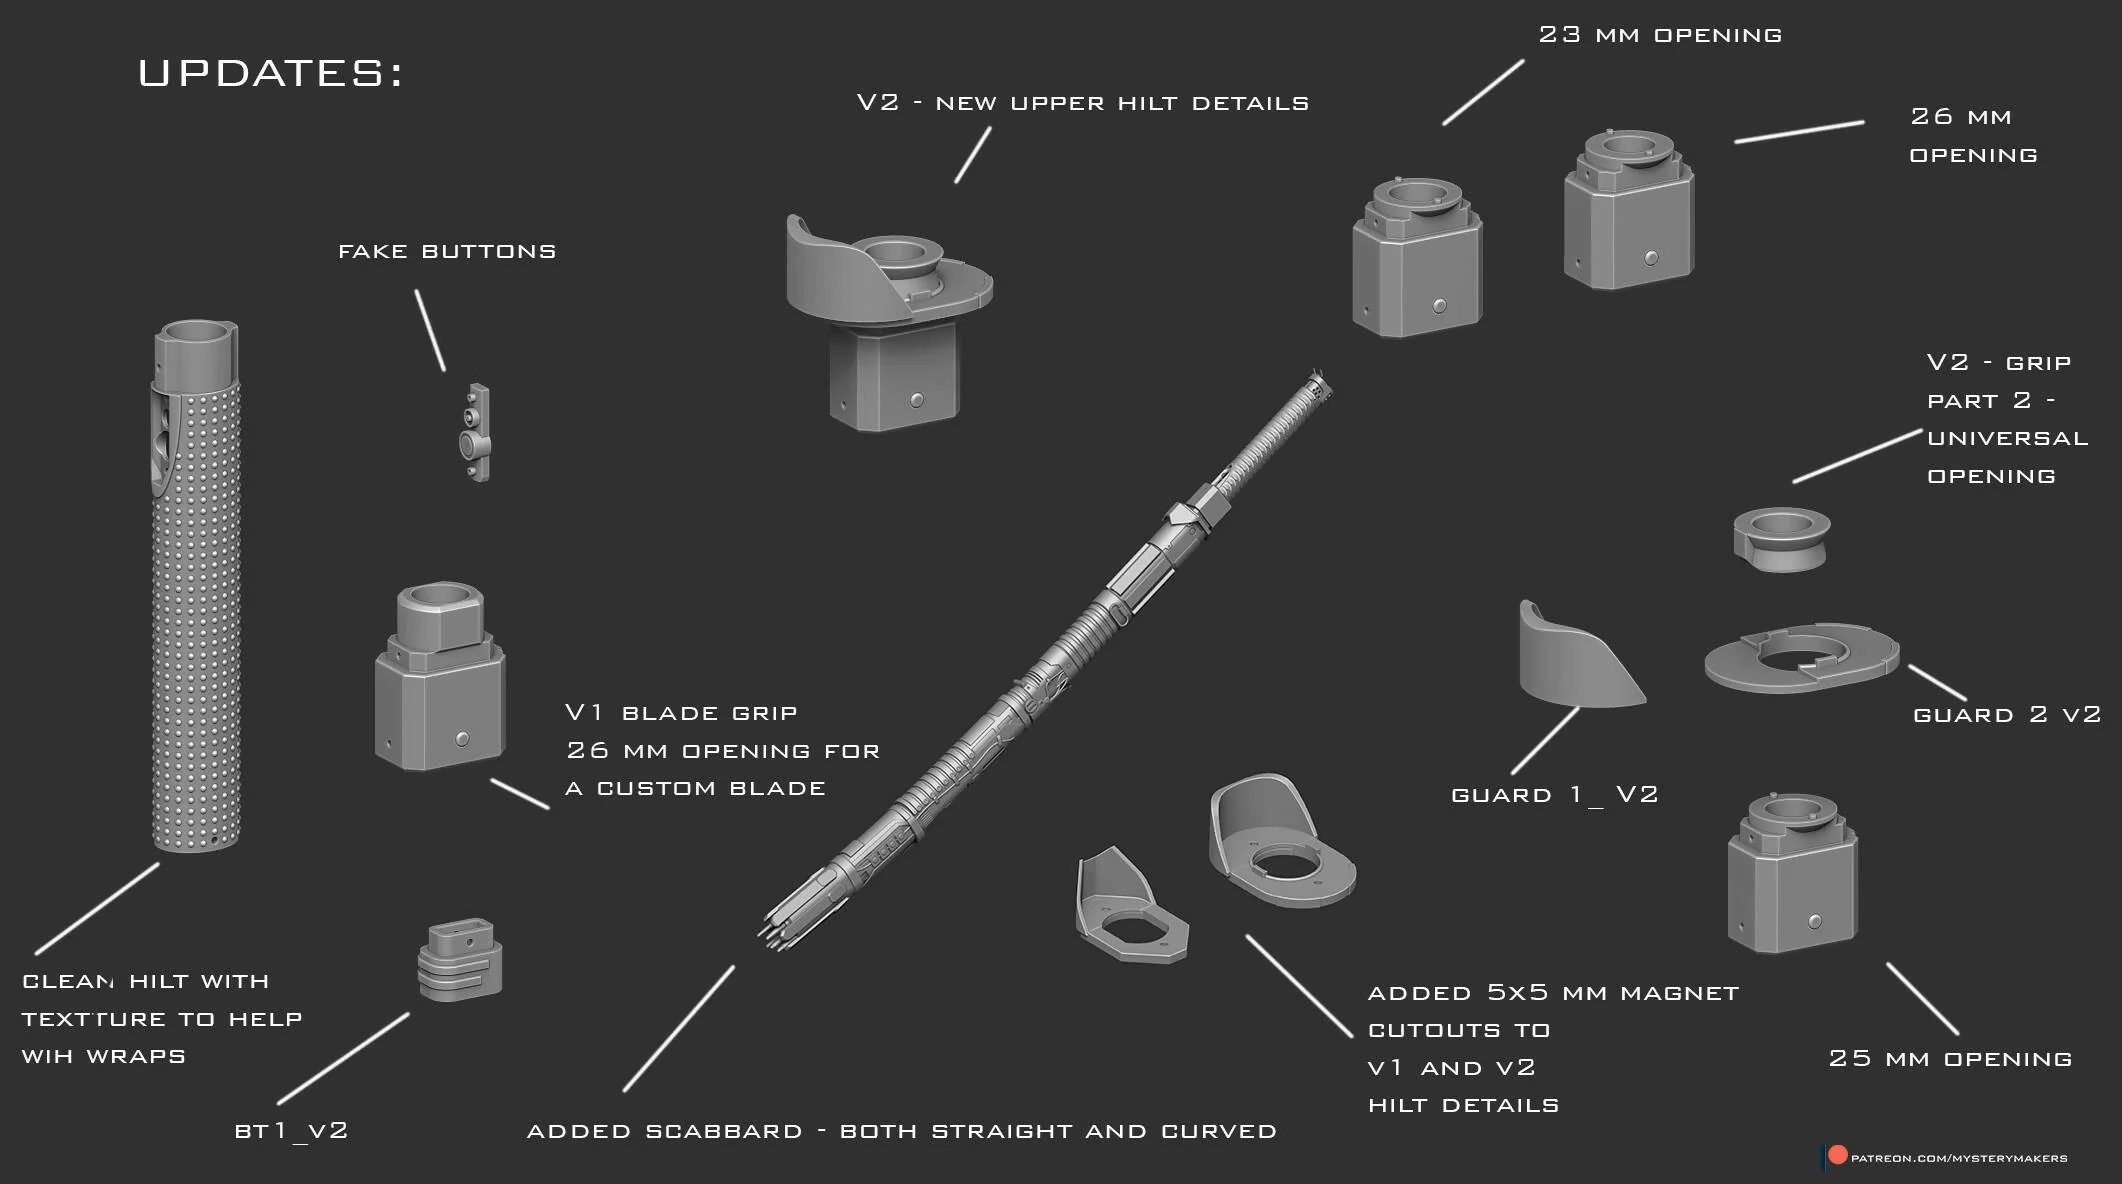
Ronin saber updates, there are now 31 new updates/pieces added :D so let me try to explain it all as short as possible :D
1- There is now a V1 and V2 - the V2 has upper hilt details changed for you to choose from. I personally like the V1 more but V2 is based on the concept art design from the show - basicaly the only visible image we have.
Since i designed V1 only by looking at screenshots and trying to get sense of them as every frame had a differnt shape we have no 2 option to select from, so i will leave that up to you what works best for you.
2. both to V1 and V2 i have added 23, 25 and 26 mm openings for any blade combinations you wish to use it with
3. i added fake buttons for those who do not wish to print a functional idem
4. i added a small texture to the clean hilt version so you can wrap the handle and the rope will not slide off while you're doing it ( if you plan to use the version where you wrap the hilt yourself)
5. both to v1 and v2 i added magnet holes version to attach it to scabbard ( 5x5 mm hole because the thickness does not allow for more - so you can either use a magnet in that part or a piece of metal because the scabbard has 5x10 mm magnet hole carved in)
6. Bt1 part has an "updated" V2 version - once again your own preference which one you wanna use.
7. blade grip V2 is not made of 2 parts ( blade grip + blade grip 2). The blade grip 2 has universal opening, so just use the blade grip 1 (!!!NOT V1 BUT v2!!!) in combination with it (either 23,25 or 26)
8. Scabbard is added - both functional (straight version so it can hold the blade) and non functional (curved - that one will not be able to hold the blade)
Scabbard is split into 8 simple parts - assemble it with 8x8 pins, and on top it has a 5x10mm cutout for magnets.
It also has a "hanger" piece that is moveable so you can attach it to your clothes/suit/rope to carry around.
If you like this and more, please consider joining my patreon where you get tons of new projects each month for a fraction of a cost;
patreon.com/mysterymakers
$25.00
Ronin light sword hilt—
$25.00
Description
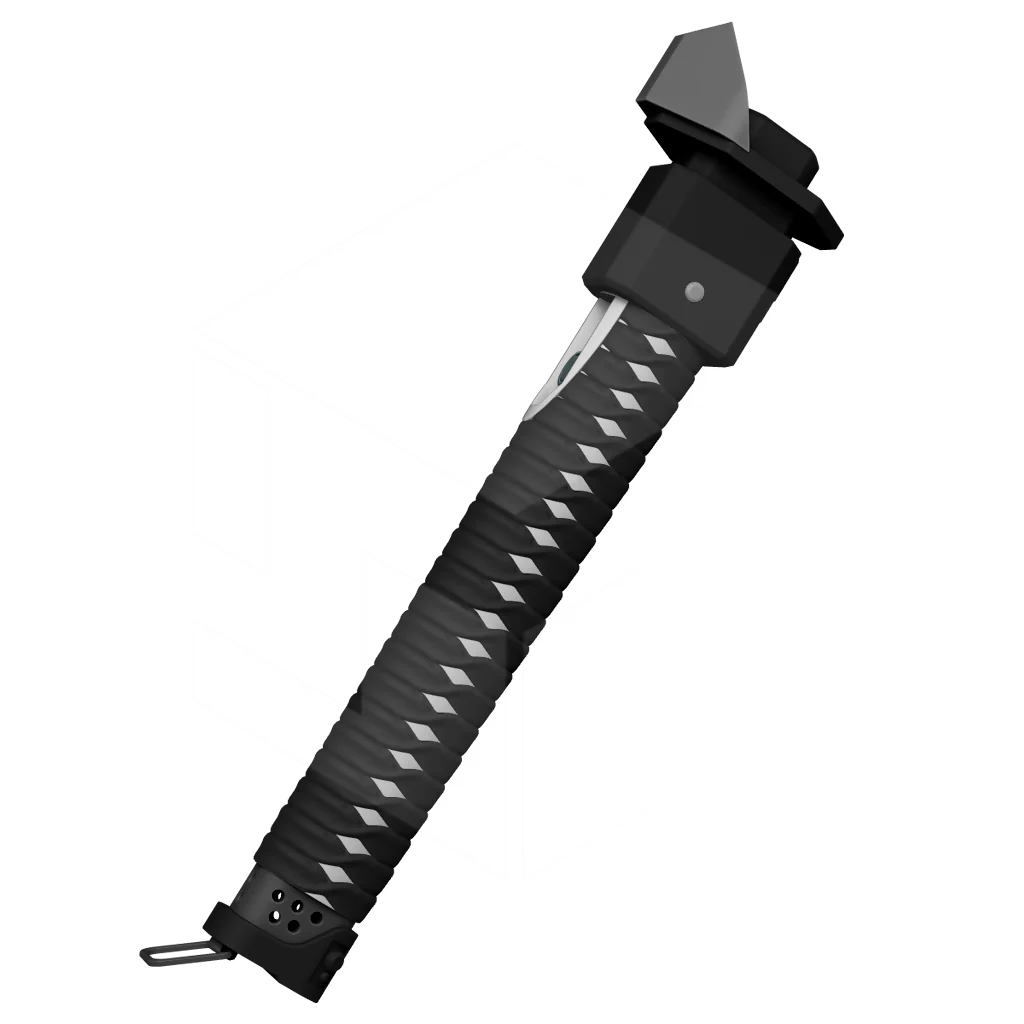
It is made to be 3d printed both in resin and FDM (filament)
- you will also need a "real" electronics and "blade" to make it functional
WHATS INCLUDED:
- V1 and V2 stl files - so 2 ronin versions
- textured hilt
- clean hilt
- textured hilt for physical wrapping
- 23 mm , 26 mm and 25 mm adapters to fit blade
- scabbard made both for V1 and V2 blade
- info where to purchase electronics
- both functional and non functional versions (3d printable)
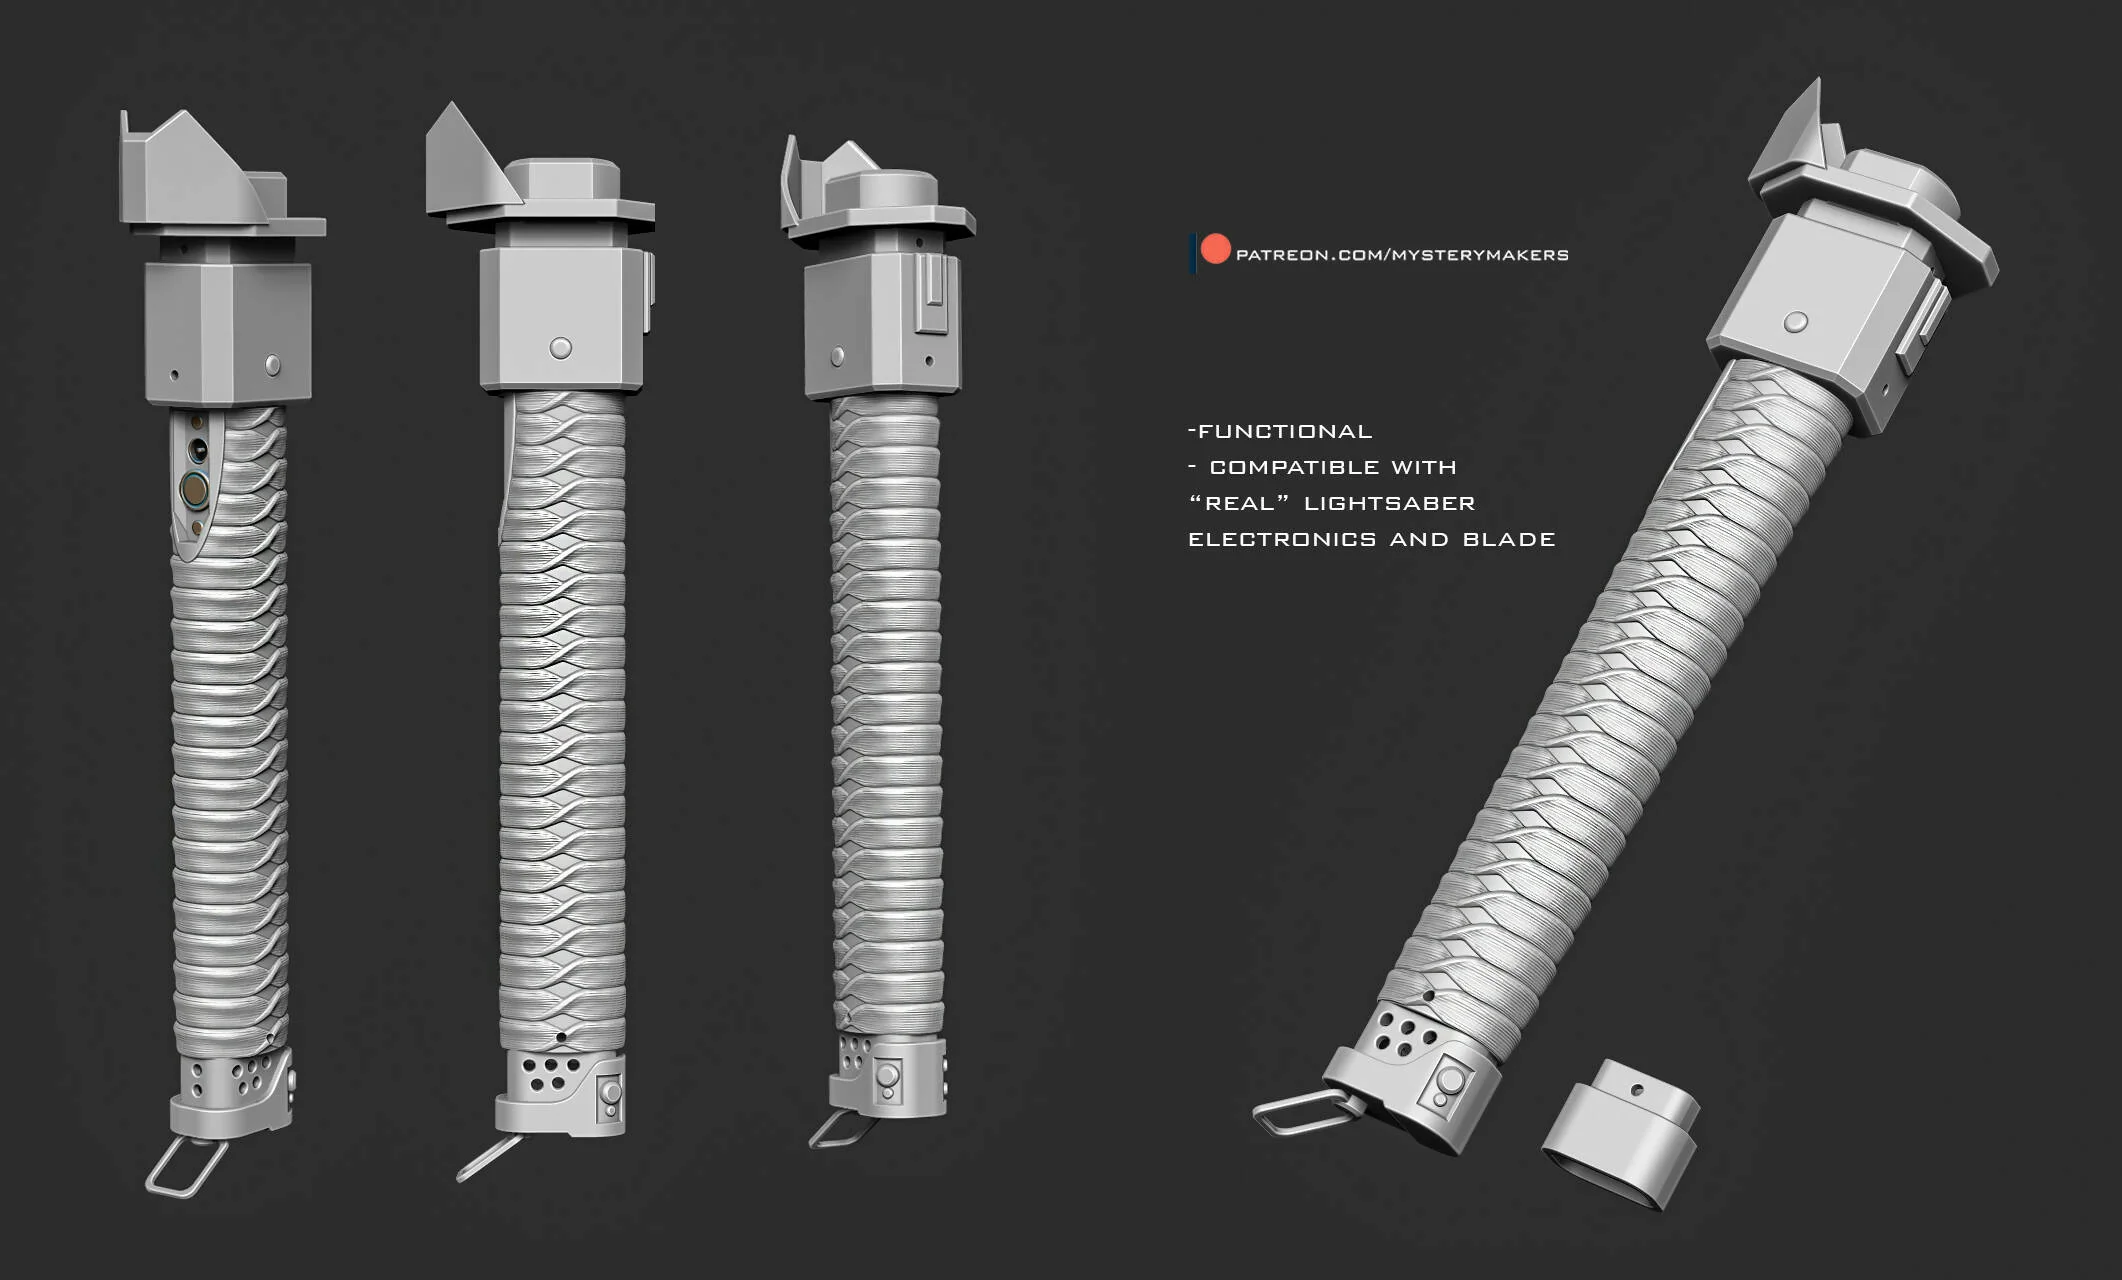
At the bottom of the saber I added cutouts/holes for sound to travel, and i also added a 25 mm and 23 mm versions to use depending on what saber you have.
The carabiner is freely moveable so you can use a 3d printed one or your own.
Screws used are m3 x10 mm. only at the bottom you can use just one m3 but longer that goes all the way thru.
Lower 2 screws on the sides on the "blade grip" part are to combined the hilt with blade, and upper 2 screw holes are to mount the blade.
In there you will also find slots for two M3 nuts that can be used to tighten/release the blade.
I also added a hilt without the katana wraps in case you wanna add your own/real ones.
The entire hilt is oval shaped, inspired by real katana hilts, ofc as much as it was allowed due to structural integrity/electronics combo, and it felt like a big shame to put the button at the sides where the knots are, so i used their design detail on the saber to actually turn it into a place where the button/switch is/are.
PROJECT UPDATES
Ronin saber updates, there are now 31 new updates/pieces added :D so let me try to explain it all as short as possible :D
1- There is now a V1 and V2 - the V2 has upper hilt details changed for you to choose from. I personally like the V1 more but V2 is based on the concept art design from the show - basicaly the only visible image we have.
Since i designed V1 only by looking at screenshots and trying to get sense of them as every frame had a differnt shape we have no 2 option to select from, so i will leave that up to you what works best for you.
2. both to V1 and V2 i have added 23, 25 and 26 mm openings for any blade combinations you wish to use it with
3. i added fake buttons for those who do not wish to print a functional idem
4. i added a small texture to the clean hilt version so you can wrap the handle and the rope will not slide off while you're doing it ( if you plan to use the version where you wrap the hilt yourself)
5. both to v1 and v2 i added magnet holes version to attach it to scabbard ( 5x5 mm hole because the thickness does not allow for more - so you can either use a magnet in that part or a piece of metal because the scabbard has 5x10 mm magnet hole carved in)
6. Bt1 part has an "updated" V2 version - once again your own preference which one you wanna use.
7. blade grip V2 is not made of 2 parts ( blade grip + blade grip 2). The blade grip 2 has universal opening, so just use the blade grip 1 (!!!NOT V1 BUT v2!!!) in combination with it (either 23,25 or 26)
8. Scabbard is added - both functional (straight version so it can hold the blade) and non functional (curved - that one will not be able to hold the blade)
Scabbard is split into 8 simple parts - assemble it with 8x8 pins, and on top it has a 5x10mm cutout for magnets.
It also has a "hanger" piece that is moveable so you can attach it to your clothes/suit/rope to carry around.
If you like this and more, please consider joining my patreon where you get tons of new projects each month for a fraction of a cost;
patreon.com/mysterymakers